Auto-Functions
Eucentric Height
For any imaging or alignment, always bring the speciment to eucentric height (at Grid square magnification).
Centre a grid square.
Go to the auto-functions panel in EPU and select ‘Autoeucentric by stage tilt’, presets grid square, final stage tilt 30 degrees and press start.
Note
In the status line you will see how the values for z height (Z) and alpha (A) change. It is important that you first centre your feature without tilt and use the z button when the stage is tilted.
Autofocus
Navigate to a carbon area and set the ‘data acquisition’ presets.
Open the direct alignment tab (bottom right of monitor).

Press Beam shift and centre the beam using multi-function x&y.
Press Done when finished.
Note
If you cannot see the beam lower the magnification.
Go to the auto-functions panel in EPU and select autofunctions-TEM, Autofocus, preset Autofocus
Press Start.

Warning
Do not use the calibrations!
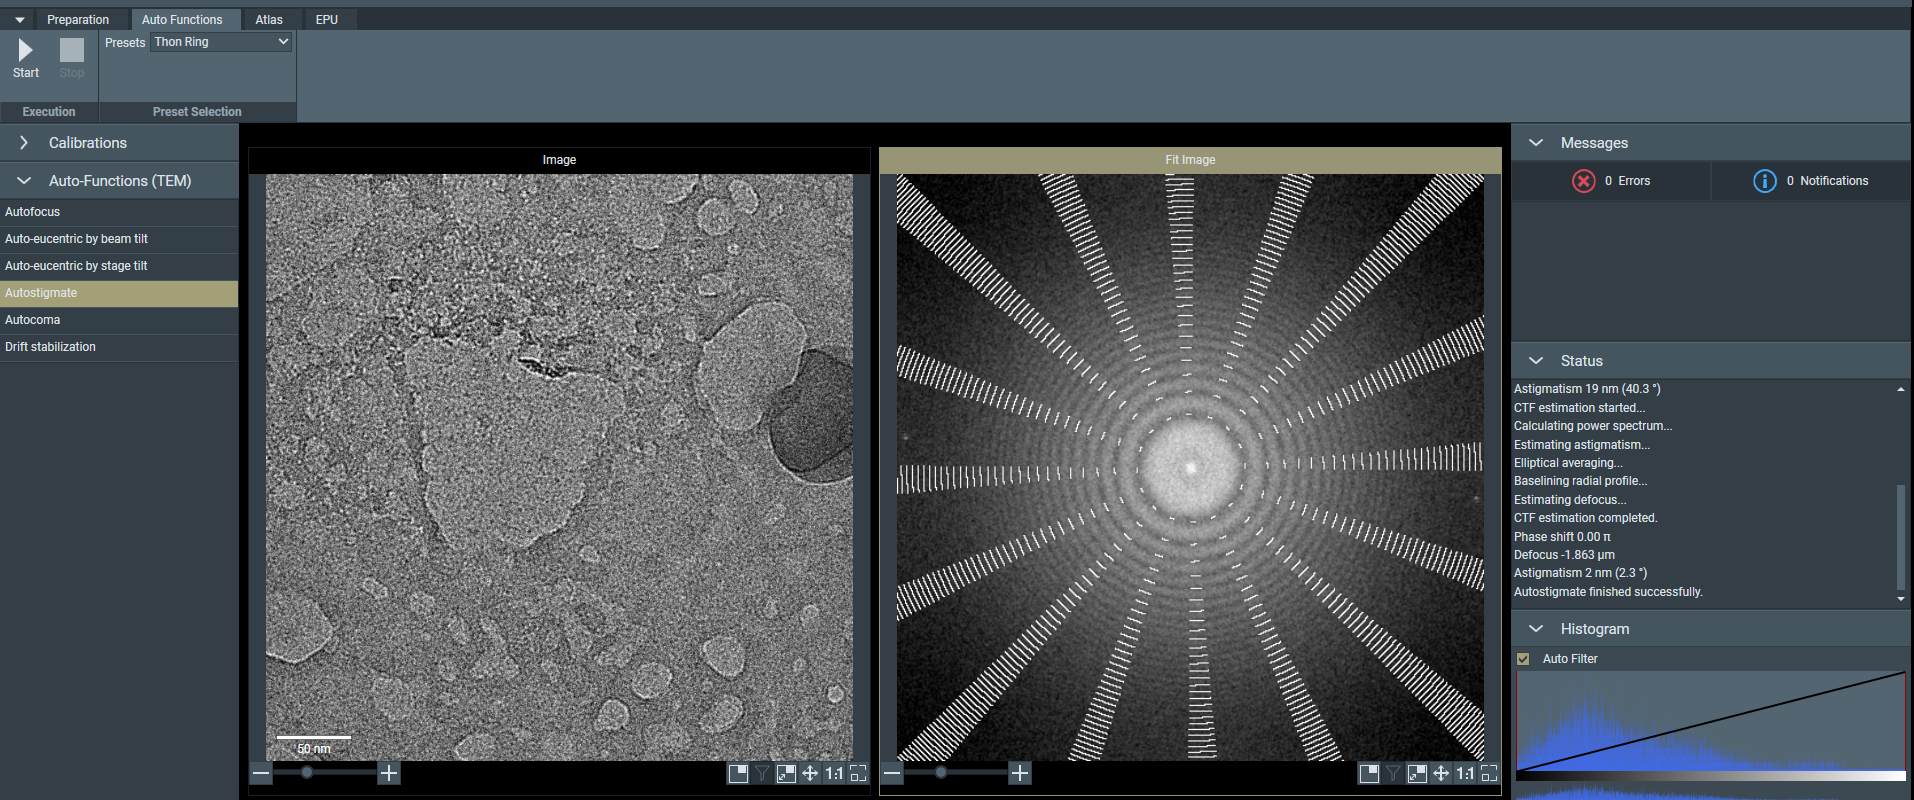
Autostigmate
Go to the auto-functions panel in EPU and select autofunctions-TEM, Autostigmate, preset Thon Ring
Press Start.
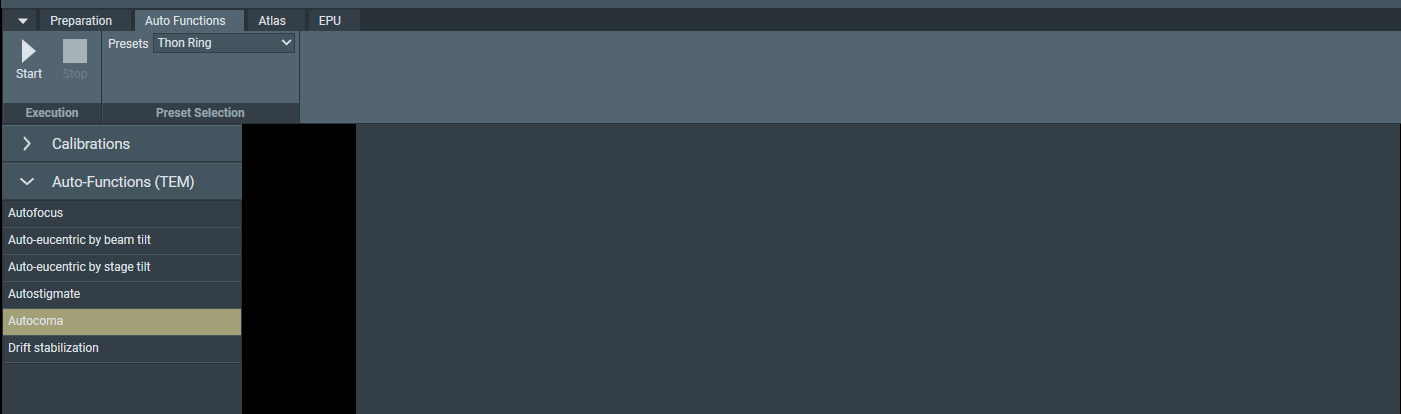
Autocoma
Set data acquisition mag.
Go to the auto-functions panel in EPU.
Sselect autofunctions-TEM, Autocoma, preset Thon Ring
Press Start.